Updated January 11, 2023
Before coming to an idea of creating a website there may be several questions striking your mind. Don’t worry it’s normal for every newbie. We are here to clear all your doubts on how to create a website step by step.
If you are thinking that creating a website is a difficult task then you are totally wrong. Even without any technical skills, you can easily create a website. The only thing you need is a laptop or computer and a good internet connection.
Now, here a question arises, why do you want to create a website? There may be different answers from different individuals. But there are two main categories of websites-
- For personal
- For Business
After following the step-by-step guide you can create a website without paying money to freelancers or website builders. So, without any further delay let’s see How to Create a Website Step by Step. Just follow this article from start to end.
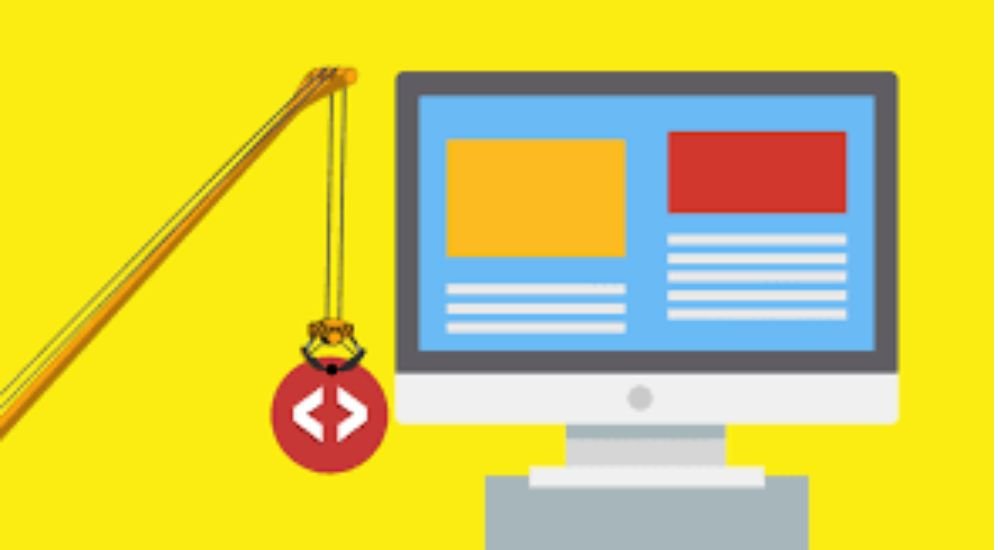
Quick Guide
- Choose a Domain Name
- Register a domain name and sign up for web hosting
- Set up a website using a web builder
- Customize your website design and structure
- Add important pages and content
How to create a Website Step by Step
Step 1- Choose a Domain name
The very first thing you will need for creating a website is a domain name.
A domain name is the address and name of your website. It is used by visitors to visit your website through web browsers. You can choose your domain name related to your website’s niche. For instance- career101.in is the domain name of this website.
A domain name is the most important part of your website. The visitors will know your website by domain name. Choose your website’s Domain name wisely, so that in the future you don’t need to change it frequently.
You can choose the Domain name of your own choice through a domain broker or hosting company. Remember, some Web hosting companies provide free domain names included in their plan. So, before Purchasing a Domain name firstly try to purchase a web hosting plan (Just go through 2nd Steps)
The price of a domain name can vary between 10$ to 50$ but the common price is 15$.
Note: There are lots of extensions available for domain names like .com, .in, .org, . net etc. but remember different extensions have different use. .com, .org, or .net are used for targeting international visitors. .in is used for targeting the Indian audience, similarly, for targeting a particular country a particular extension is used.
Step 2- Register a Domain Name and Sign up for Web Hosting
After choosing a domain name you will need to register it, which means purchasing it so that in the future no one can register or use it. Some recommended sites are listed below for registering a domain:
- Hostinger
- Bigrock
- Godaddy
- Siteground
- Bluehost
Now, you’ll need a web hosting site. Basically, Web hosting is a Site that stores your website data on a secure server, so that others can access your website.
When you sign up for a web hosting company make sure, that have the following features or not:
- FREE domain name with SSL (for security)
- One-click-install for WordPress (free)
- Custom email accounts
- Unlimited or unmetered bandwidth (no traffic limitations)
- Customer support, preferably 24/7 live chat
Step 3- Choose a Website Builder Platform and Install WordPress
After registering a domain name and signing up a web hosting, you are ready to go. Now, you’ll need a website builder platform. Your chosen Platform And the best Platform we recommend is WordPress.
More than 25% of the websites are built on WordPress. Its user-friendly interface with constant updates makes it famous.
The reason why we recommended WordPress is that it has thousands of free themes and plugins that help you to make your website like a Pro.
Setting up a WordPress website is very easy, most of the work will do your web hosting. So, you don’t need to worry. Most of the Web hosting has “WordPress install” in the Control panel. If your Web hosting doesn’t have a one-click install feature then try to set it up manually.
Step 4- Choose a Theme for Your Website
Themes play a vital role in the audience retention of your website. So, pick the theme carefully and make sure that it has the following basic features:
- Colors and Layout should be suitable for your website
- Good functionality
- Good reviews
You can change the theme later. But avoid it because this may affect your site’s SEO and Branding. There are lots of themes available on the WordPress platform. Also, there are other theme providers like Studiopress, Optimizepress, and Elegant Themes, etc. that can be used according to your needs.
Step 5- Install Plugins on Your Website
Basically, plugins are small apps that can be installed on your website to provide more functionality. Some plugins are large and some are small.
If possible, try to install minimum plugins as much as possible because they can slow down your website’s speed.
Step 6- Start Uploading content
After completing all the steps, start publishing your content, thoughts, or anything you want to share with the people. Customize menus, and colors on your website, and start building an audience.
When you first launch your website may be, a question striking in your mind- What to write and how to rank your article?
The best way to research topics, competition, and traffics on a particular keyword is by using a keyword research tool like Google keyword planner. Since it’s totally free so it gives very little information.
So, it becomes very important to have a paid tool for accurate and more information. Our recommended Paid tools are:
- Ahrefs
- Jaxxy.com
- KeywordTool.io
- Ubersuggest
So, I hope your doubts may have cleared. If you want to ask any questions simply leave a comment below. I’ll do my best to reply to you.